


Belegrim always have a lot of excuses for not wearing proper garb. My favorites are "I can't sew" or "It's too expensive to buy patterns" or "It takes too long".
Well, for all those people, this tutorial explains how to make a tunic with nothing but a couple yards of cotton, scissors, needle and thread. It's nothing fancy, but it takes less than an hour to make, even with the edges finished. Don't let the length of this tutorial fool you into thinking it will be really difficult. All you need to know is how to sew a straight seam - I'll show you the rest.
Cutting the fabric

I like my tunic a bit on the big side, so we're going to measure the fabric by folding it in half and holding it up from shoulder-to-shoulder in front of you. You'll want to line it up with about the mid-point of your shoulder. Pinch the side that has excess fabric hanging off of it tightly and lie that down on your cutting surface.

Mark where you pinched with a shallow cut. This will determine the width of your tunic.

Sliding your finger through the hole you just made and (draping it over your shoulders) figure out what length you'd like the tunic to be. I like mine a little above mid-thigh. Again, pinch the fabric at the shoulder and lie it down flat, so that the length of the fabric on the top side of the crease matches the length you want the tunic to be.

Re-mark the width, making a slit from the previous marking to the new shoulder.

Follow the line from that top layer of fabric to cut the length. I followed all the way across so I could easily make sleeves out of the excess fabric. Finish cutting the width line down to meet the length line, creating a large rectangle of fabric which will be the body of your tunic.

Quick sanity check on the tunic body. Looks long enough and wide enough to me.

Using two layers of your remaining fabric, we're going to make the sleeves. Resting it over my shoulder, I've pinched a little below the wrist as where I'd like to cut them off.

A quick cut later and we're ready for another sanity check. You can't see it here, but I actually have both sleeves layered together. So that's one rectangle for the body and two for the sleeves. You're mostly done cutting now, but keep your scraps - you'll need them for the neckline.
Assembling the body

To avoid any confusion, lay out your tunic pieces so they look like a tunic, just without the neckhole or stitching. Now, one at a time, you're going to sew the sleeves.
I don't have a picture of this, unfortunately, but what you'll want to do is flip one of the sleeves over the body like you were folding a shirt. This will keep the raw edges flush with one another, but the sleeve will now lay across body with folds touching along the top.

Now flip the sleeve over the top of the body so it wraps around the body fabric. The fold that goes over the shoulder should still line up. When you flatten out the body fabric, it should look like you've centered the sleeve rectangle on it.

Make sure you start sewing on the "body" portion of the fabric and then stitch into the sleeve. I like a 5/8" seam, but you can use whatever works for you. You will likely need to pinch the fabric to keep those raw edges from slipping apart.

This is one of the tricks I like to use when sewing long seams without pins. I will pull the fabric taut very gently, which keeps the edges from sliding much. Be very careful not to work against the machine by pulling too hard! That's a good way to break a needle.

Okay, one sleeve done! Now we need to match the second one with the first. Here, the first sleeve is laying flat at the left, while I've folded the body fabric lengthwise. This will make it easier for me to line up my sleeves perfectly.

You can see how I've made sure these sleeve match up. Notice that on both sides, the sleeve is on the OUTSIDE of the body fabric. It's very important to sew them both on the inside or both on the outside - if you do one of each, you will have raw edges on the outside of your tunic at the end!

After sewing that second sleeve, we can lay out our tunic again with the newly sewn edges on the outside. All that is left is sewing the long seam on either side that closes both the body and the bottom of the sleeves. The only "tricky" part is the 90 degree angle at the armpit if you're using a sewing machine. You may want to reinforce the stitching in this area as well because it tends to wear quickly.

When you get to the armpit, stitch a full seam-allowance past the corner and stop with the needle DOWN in the fabric.

Lift the presser foot, turn the fabric 90 degrees so you're ready to sew another straight seam, and lower the foot again. Continue on your way.

Double check your work. You can see all my seams are on the outside, which is correct.
Turning the tunic right-side-out

Okay, now it is time to turn this guy right side out! If you just turn it as it is now, you will probably see what happened above in the armpits. All that fabric on the inside of the seam causes it to pucker funny instead of giving you a tight corner. No problem, just flip it inside out again.

Clip the corner with your scissors. That means making a single cut to (but not through) the stitching in the corner.

Turning it out the right way again reveals a much sharper corner.

Once you are done, it should look like a real tunic. You just need a place for your head.
Making the neckhole

Decide how big you want your neckhole to be. I wanted mine particularly wide, so I checked against an old tunic. You can see that it's about half the width of the tunic, just centered.

Take one a scrap of fabric and wrap it around the top of the tunic. It should be larger than the neckhole you want. It doesn't need to be beautiful, because it will be turned inside eventually.

Cut out your neckhole through both the scrap fabric and the tunic fabric, just a tiny bit smaller than you want the final neckhole to be. You can see I've cut fairly straight across the back, but a v in the front.

Sew close to that cut edge. If you're using a sewing machine, you'll want to wrap the neckhole around the arm of the machine as shown above. You're just sewing a big circle, so you'll eventually come back to where you started.

Sewing finished. You'll notice I made a little mistake at the right side and ended up cutting the scrap fabric to make sure it lays flat. Don'y worry, it won't be visible on the front.

Start turning the scrap fabric inside...

Until you have your final neckhole with the scrap no longer visible.
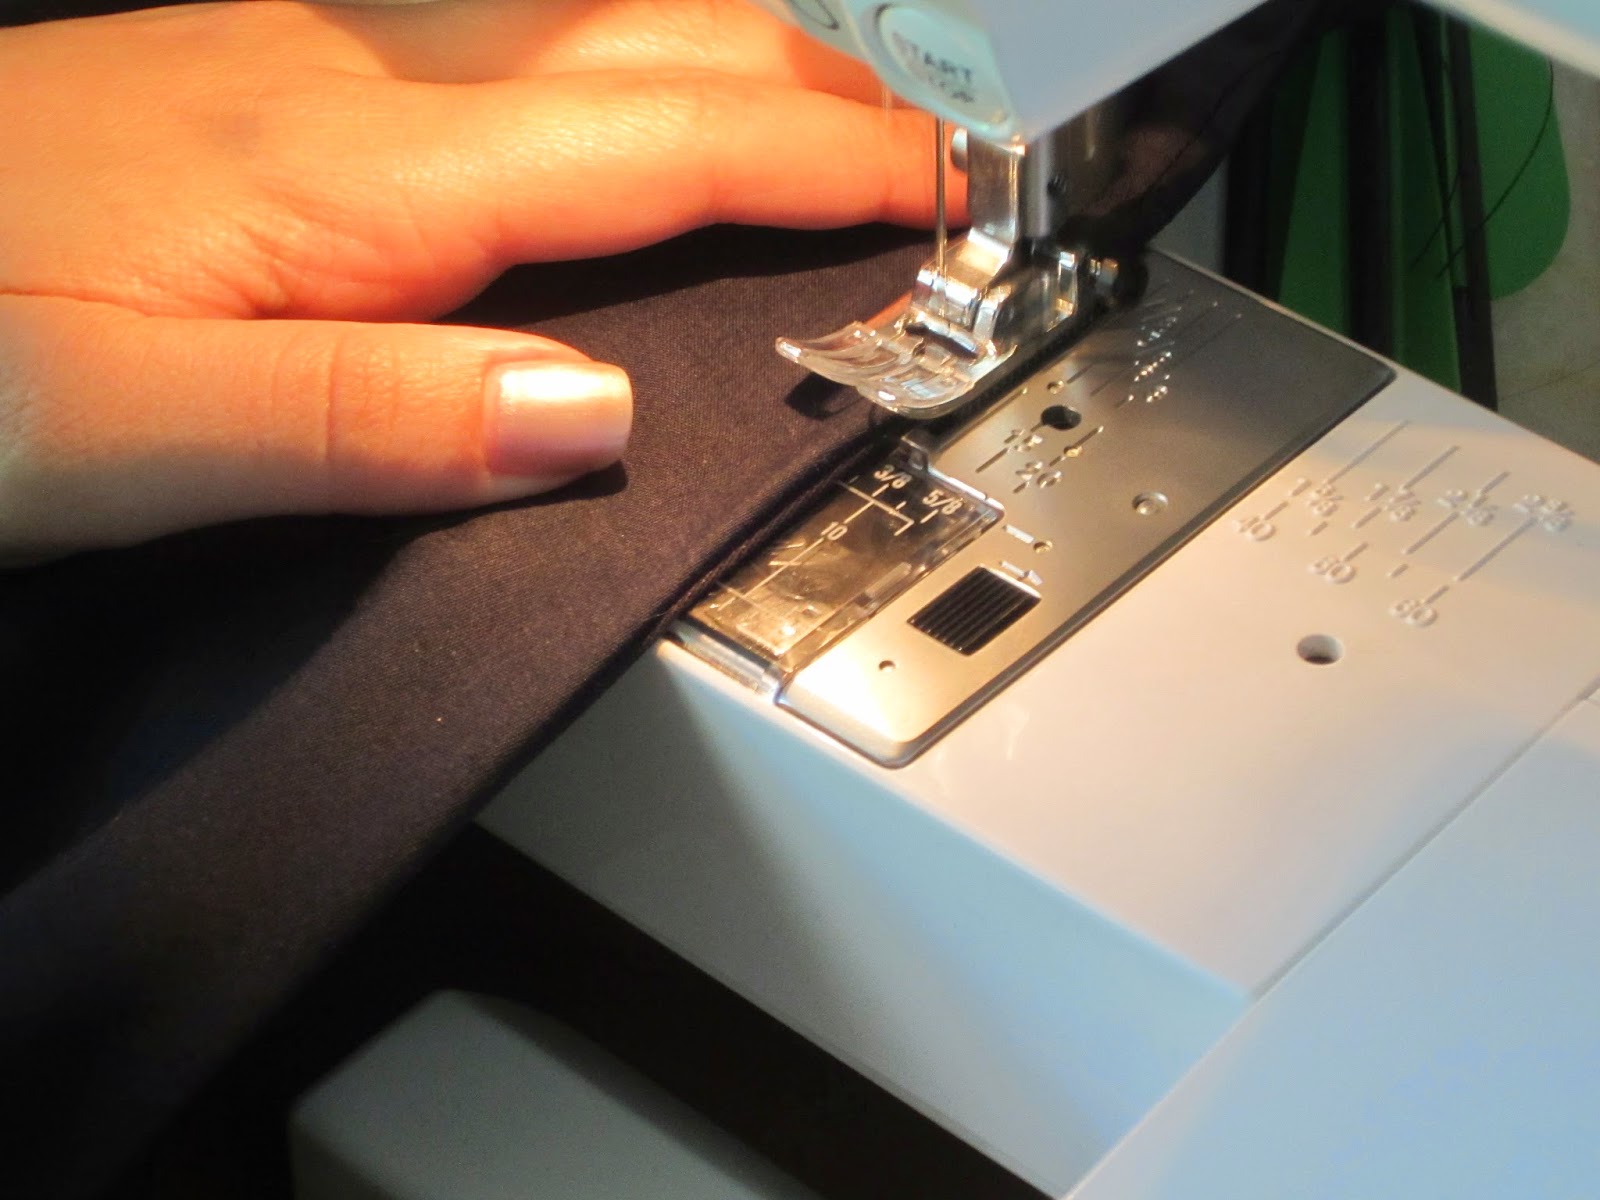
Sew right along where the two piece of fabric meet. You can see the neat seam it will make.
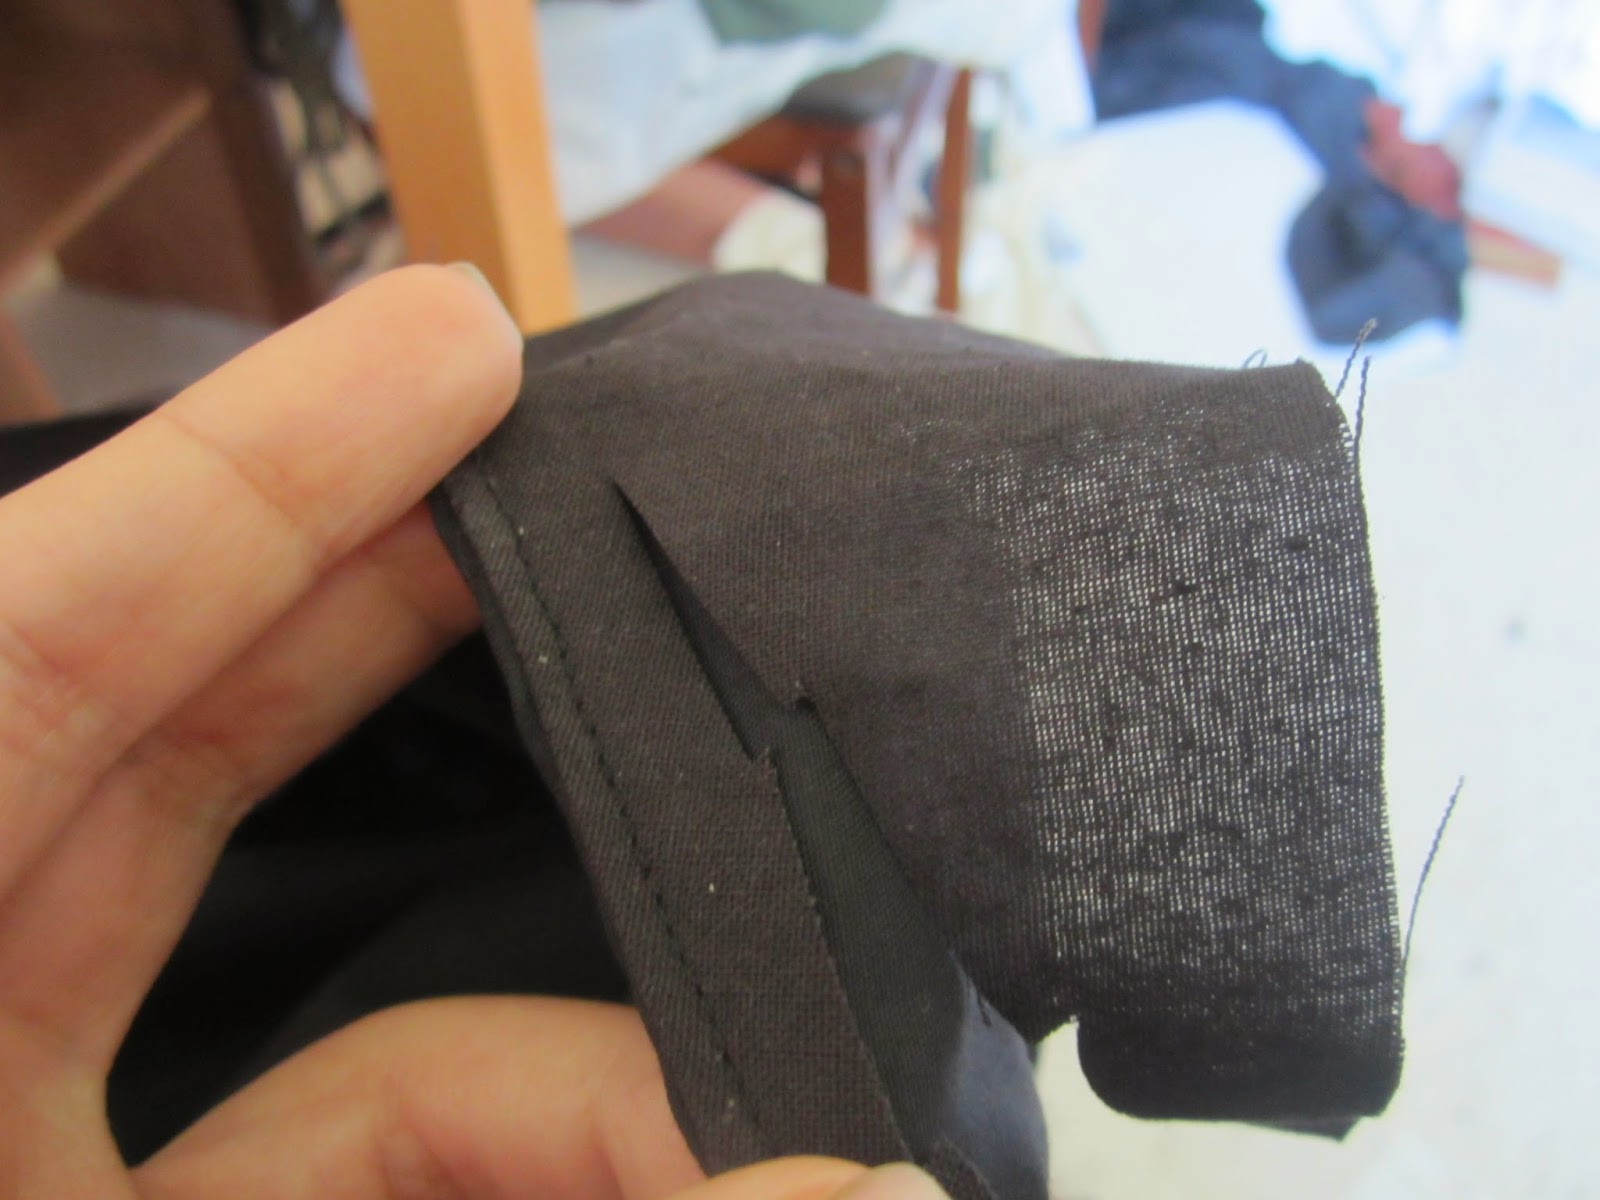
Trim off the excess scrap fabric on the inside.
Hemming the edges

You now have a wearable tunic! But we're not quite done yet. Those sleeves are a bit long, and we don't want the raw edges to ravel, so it's time to hem.

If you need to shorten your sleeves, cut off the excess fabric. I like to leave mine rather long, so I'm just trimming a little.
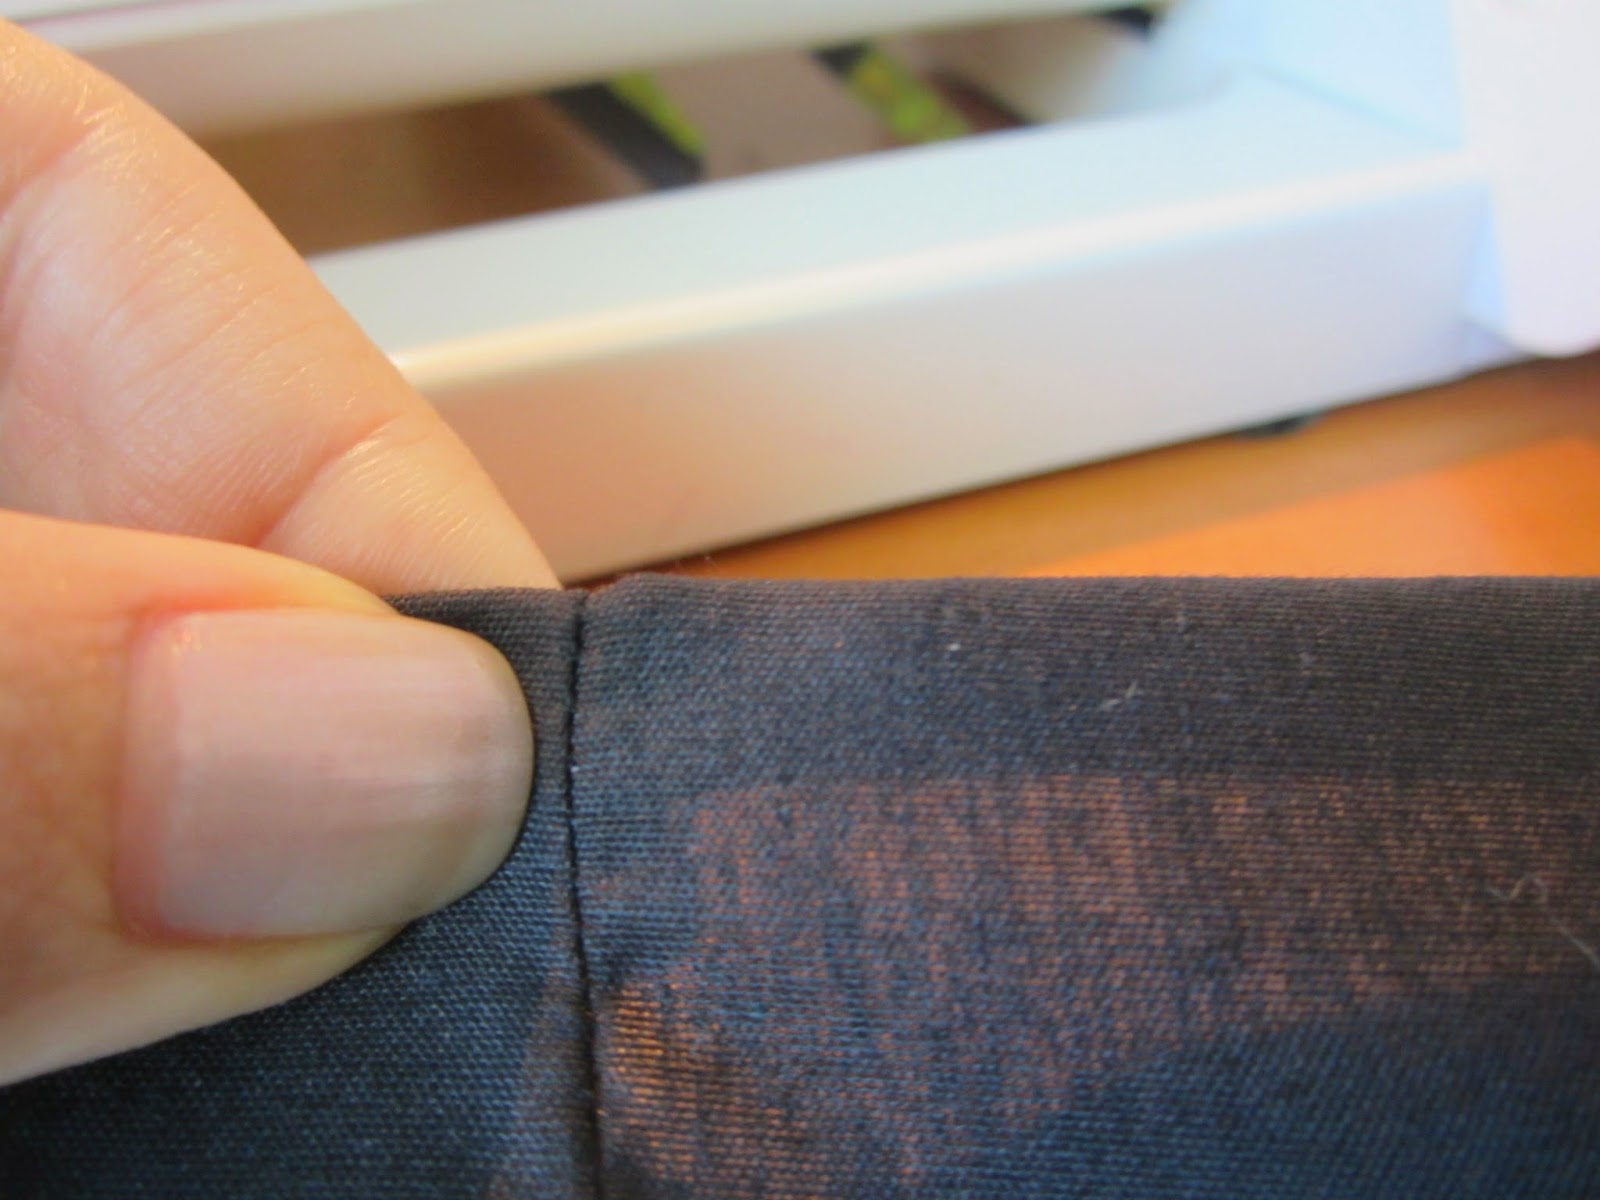
Now fold the edge down once, then a second time. It will make a nice folded edge on both the top and the inside.

Sew close to the outer folded edge. Since we aren't using pins or an iron, you'll need to keep turning the hem under as you sew. I do so by stopping with the needle down, gently pulling the fabric taut, and folding it under once....

...then under again. Continue for both sleeves and the bottom of the tunic.

And there you go - one finished tunic! Once you've mastered the basics, there's a whole world of embellishments, patterns, and techniques to explore. That is a post for another time, but don't be afraid to experiment on your own.


